Garden with Insight Help: Prepare another soil patch
Tutorial progress: ---------------|----
Make a new soil patch
The first thing we want to do to prepare for next year is to get another soil bed ready to plant next
year. Right-click on the shovel to pick it up, then choose the shovel
action new soil patch. Move the shovel so that the cursor is over the
third soil bed in the picture. Click and drag the mouse to create a square roughly the size of the patch you
want to make. [If nothing happens, check that you have the new soil patch tool action selected in the
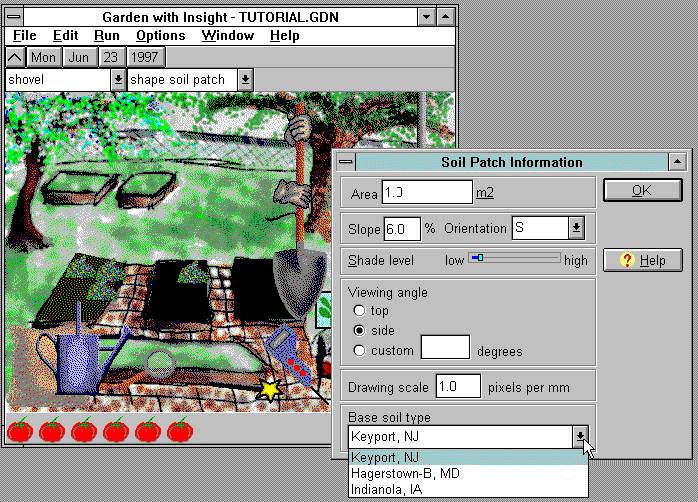
second drop-down list box on the toolbar.] As soon as you release the mouse button, the soil patch basic parameters window will appear asking for the total area of
the soil patch and some other parameters. Click OK to accept
the default soil patch area of one square meter (about 10 square feet) and other default parameters.
Shape the soil patch
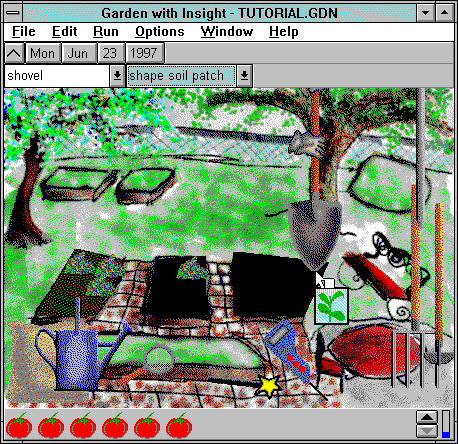
Now you have a square soil patch; but you want to make the patch look like the outline you have on
the screen. As soon as you stopped dragging, the shovel action on the toolbar switched to shape soil patch. Click near any corner of the new soil patch, inside the
patch, and drag the mouse; that corner will move. Move the four corners around this way until you
are satisfied with the patch. When you are finished shaping your soil patch, right-click to put the shovel
down.
Look at the cursor in the new soil patch
Creating soil patches with the shovel is an important step in Garden with Insight. It tells the
program that these are the areas in which you want your garden to grow. Notice that the cursor changes to
an arrow with a square  in the
new soil patch you have prepared, just like it does in the other soil patches. in the
new soil patch you have prepared, just like it does in the other soil patches.

Creating a new soil patch

Shaping a soil patch with the shovel
Tutorial index Next
| 
